Halloween is coming up, so I have a fun little craft for you today involving DIY Harry Potter Spell Books! This is a fun and easy craft anyone of almost any crafting level can handle. These are my favorite types of crafts as I love art, but am absolutely terrible at it. I’m a mediocre crafter at best, so if I say I can manage it, you can manage it, and probably surpass my efforts!

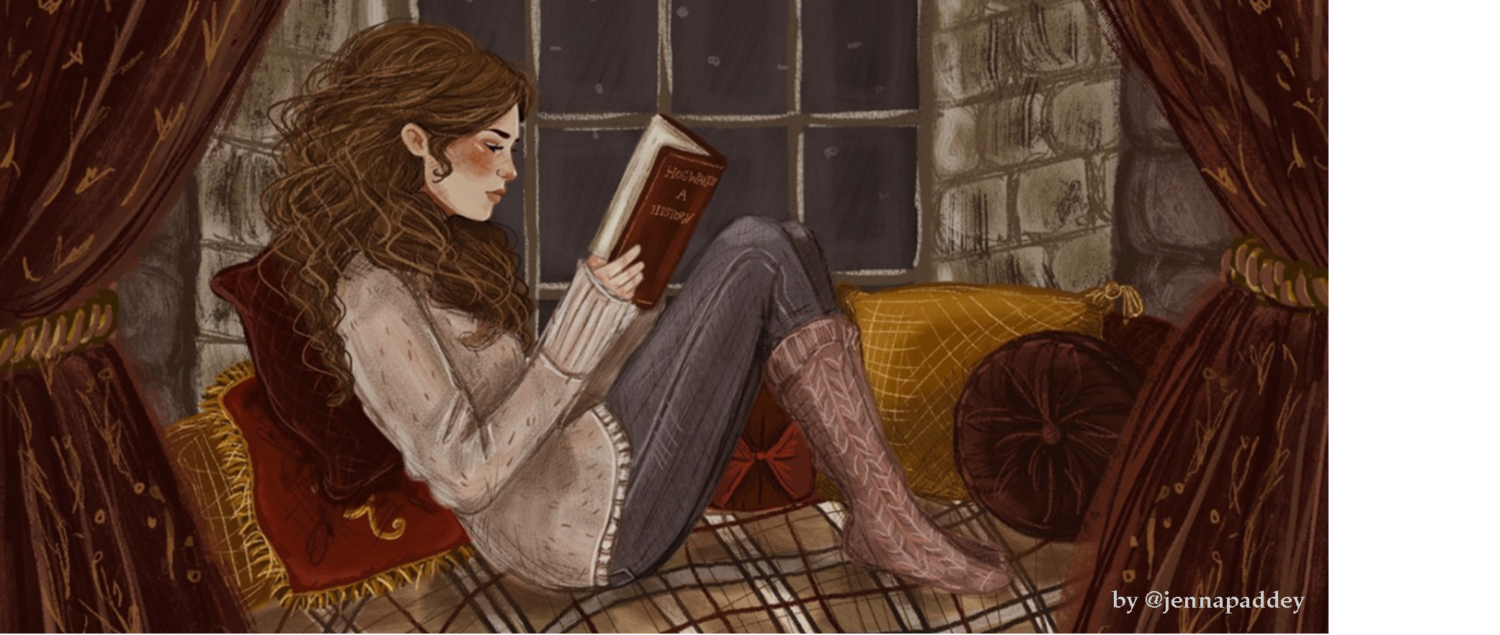
There are two ways you can go about doing a DIY Spell Book. The first is easier. You can use a PDF files and print out a cover of your favorite Harry Potter book. Wrap it around one of the books in your bookshelf (the more embarrassing book you own, the better!) and voila! Instant Hogwarts Library. All you need for this is a color printer, paper, scissors, glue, and a book. This tutorial and the image directly below comes from the blog Hideous! Dreadful! Stinky! Please go there for the pdf and instructions to print for your books.

The second DIY Harry Potter Spell Book you can make is more time consuming, but also looks more authentic. I originally found this idea years ago while browsing my Pinterest from this blog. This person is definitely a better crafter than me so check it out!
To make your spooky book, first gather your materials. You can get as creative as you want with the accessories. I used items I found at my local Dollar Tree like stickers, plastic bats, and ribbon, as well as a cut up Cheez-It box.
You will need:
- A book or books
- Black Acrylic Paint
- Gold Acrylic Paint
- A paint brush
- Paper Towels
- Mod Podge
- A hot glue gun
- glue sticks
- Scissors
- Cardstock or cardboard (I used material from a box of Cheez-Its and a Bed Bath and Beyond flyer)
- Foam or other pre-cut raised letters if you’d prefer not to cut them out of cardstock yourself.
- Pen, pencil, or marker
- Accessories of your choice
To begin with, figure out what materials you’d like to use and what your book will be called. Cut out letters from a tougher material like cardstock, cardboard, or a cereal box. (Or use pre bought letters.) Glue letters and materials onto your book with a hot glue gun.


Take a thin paper towel and dampen it. Add it on top of your book and the letters. Cover in mod podge and work the brush into the crevices. Make sure you don’t make it look too flat, the paper towel crumpling up makes it look better. Let dry. To me this is one of the toughest steps to get done correctly, but you might find it easier than I did.

Paint over it with black acrylic paint. Let dry. At this point you might worry about how flat this looks, so I’m adding a picture to show you how it looks at this stage. No worries, once you add the gold paint it looks much better!

Add the tiniest bit of gold paint to your finger or small brush and brush very gently over the raised parts on your book.

Don’t worry if you added too much like I did originally, you can always add on more black paint. I’m including a picture so you can see how badly my book looked at this stage to prove to you this can be fixed.

At this point make any touch-ups with your black and/or gold paint. You can always add more paint with a brush as many times as needed to get the look you want. Let dry. You can see the massive improvement here after I used my brushes and paint to edit.


And now you have a super cool creepy book for Halloween decor, a kick-ass Harry Potter party, or just a cool addition to your bookshelf!

If you’d like to see me try specific tutorials or you’ve tried this craft before, leave me a comment below I’d love to hear from you.
*please note I did link to affiliate products through Amazon, though I *only* linked to items I have personally purchased. 🙂