
Are you in the mood for some crafts but find yourself low on money? Do you enjoy recycling? Then join me for this upcycled Harry Potter craft! First, gather your materials. You will need:
- An empty tissue box
- Scissors
- 1-2 paint brushes
- Acrylic Paint in your color of choice
- Paper
- Color Printer
- Mod Podge (glossy or matte)
- Glitter (optional)

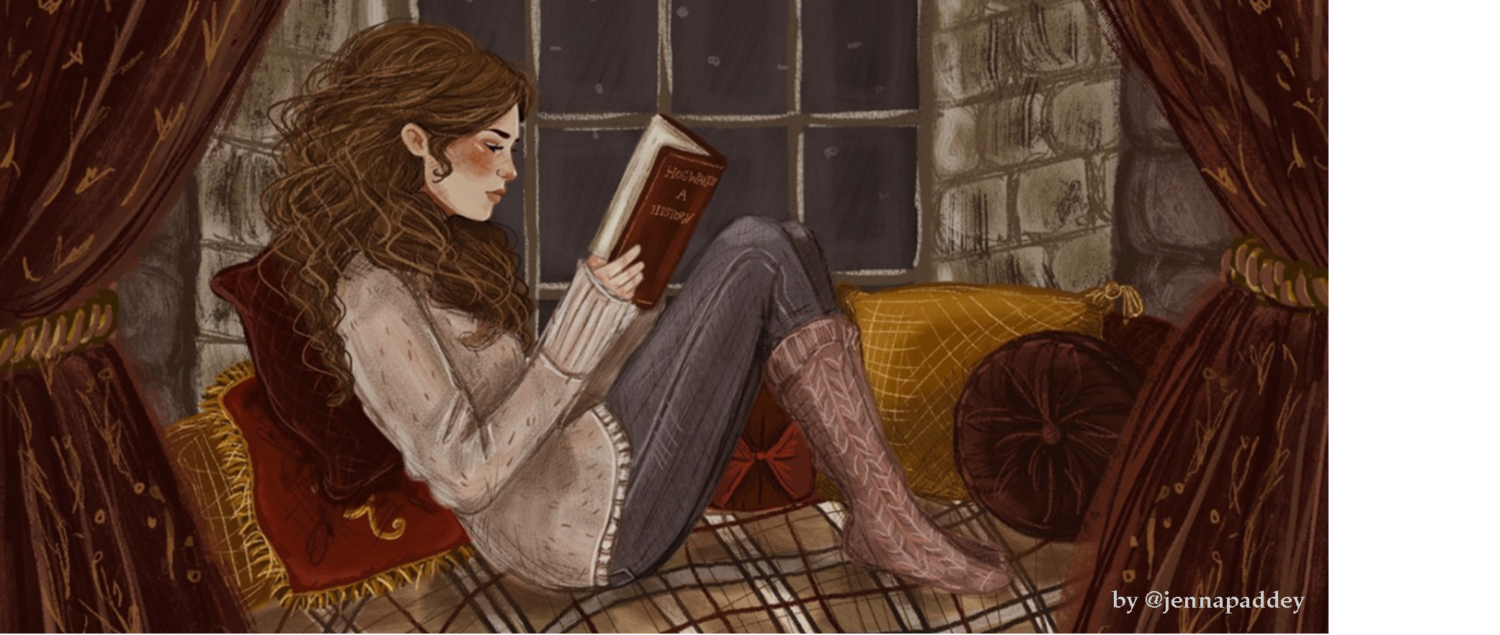
Select four images. I picked these Hogwarts House images I saw on Pinterest, but the great thing about this craft is that you can do it as many times as you want with whatever images you want!

Cut out the plastic part on top of the box.

Paint your box. I used white acrylic paint to go with my images but use whatever color floats your boat.

After your box dries, gather your Mod Podge and glitter. I used white glitter and glossy Mod Podge. You can leave out the glitter and also substitute the Mod Podge with elmer’s glue/water combined to make a sealant.


Prepare your images.

Dip your paint brush in Mod Podge and paint on the box where you are going to place your image.

Place your image on top of the Mod Podge.

Combine the Mod Podge and glitter in a small container/plate.
Mix together.

Paint on top of the image and the box evenly.

Really coat it. The Mod Podge will dry clear.

Paint the top of the box for a uniform look and seal.

Do all four sides and let dry.

Here is how the four sides turned out! The glitter is most obvious in the Hufflepuff photo but it is visible on all sides in person.


Fill with your desired objects and admire! I put my paintbrushes in my holder.

Enjoying my crafts? Follow my blog for all the newest updates on content! Check out more crafts, and Harry Potter fun here, here, and here!
Follow me on my twitter @HSecretLibrary, pinterest, and my instagram @hermionessecretlibrary